How to Do Kent's Auto Transmission Power Drain Procedure - On Demand Video
In this detailed 22-minute video instruction, Kent will show you how to use his kit to perform a power drain on most 1965 to 1995 automatic transmission.
ALERT: Miracle Paint is back in stock! CLICK HERE to order.
In this detailed 22-minute video instruction, Kent will show you how to use his kit to perform a power drain on most 1965 to 1995 automatic transmission.
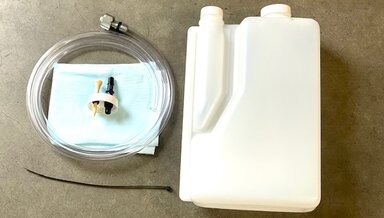
Yes, YOU can fully drain all your transmission without using any type of "power flush." Full detailed video instructions are included. This kit is easy to connect and the process is quick and clean. Watch Kent's YouTube video below for full details.
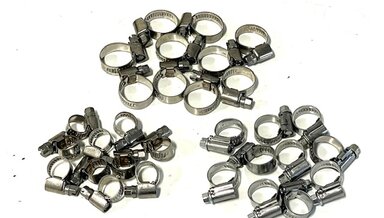
You will receive ten each of the following sizes: 8/12, 10/16, and 12/22. These are much better than U.S. style hose clamps that cut into the hose.
Kent shares with you 3 key steps that you should consider doing to get your old fuel injected 6 and 8 cylinder engines running properly. These include:

These will no longer be printed when these are gone. They will still be available as a download. All books are signed by Kent. This is an end of an era for us. Most books are approximately 15 pages in length and covered with heavy clear plastic.
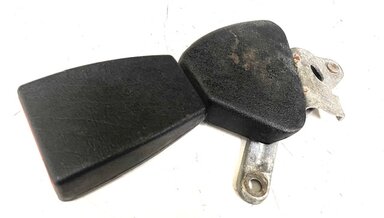
GOOD used shoulder harness latch mechanism complete with rail holder and black plastic cover. MAKE SURE your LATCH HOLE is like the one below. Later latches had a smaller slot.
In this 15-minute video, Kent will show you step-by-step how to safely remove the Bowden cable without damaging it and how to install it to get the proper connection. This is not as easy as it looks, and you can break it if you are not careful.
In this 9-minute instructional video, Kent explains how to set up his injection pump cleaning and testing kit ( available separately ), and use it to clean out old fuel injection pumps of gum and grime, and then how to test them to make sure they are delivery fuel through every line.
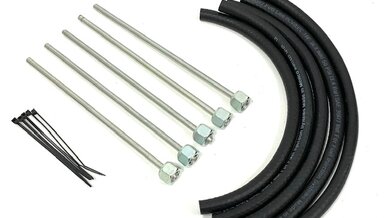
This is the best way to determine if the expensive injection pump is going to work for old 4 AND 5-cylinder diesel engines that have not run in years. Watch the video below to understand what this kit can do.
In this 20-minute instruction video, Kent will show you how to take his short kit and combine it with a tester that you can purchase online to make a leak-free, reliable, and accurate fuel pressure tester for Bosch CIS fuel injection.
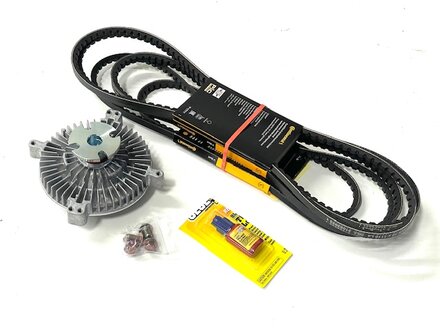
Both items you see above with complete video instructions. Click on each product included for more info. There are other parts you may want to replace at the same time such as the water pump, thermostat, short hose, and radiator hoses at the same time. See related products below.
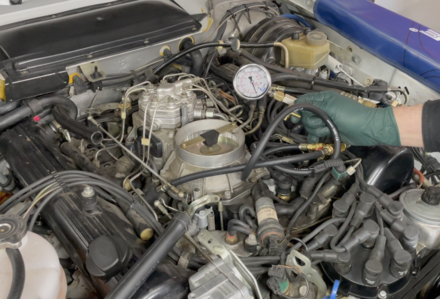
It has been over 30 years since the last Mercedes with Bosch C.I.S. fuel injection was manufactured. If you own a 1976 to 1993 Mercedes gas engine with this type of fuel injection, you may have difficulty finding someone to work on your car. In some parts of the country, it may be impossible.
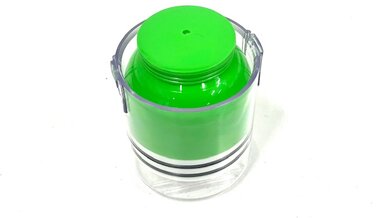
Flushes Out Old Grease and Repacks Bearings with Less Mess. This Handy Packer works on bearings up to 3 1/2" O.D.
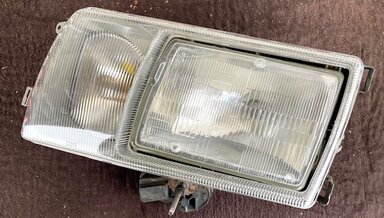
This one is super nice. Has been in storage for 20 years. No cracks, no breaks, no star chips, a good reflector, and an excellent plastic headlight door. Have not tested bulbs so can not guarantee but they most likely maybe will work...
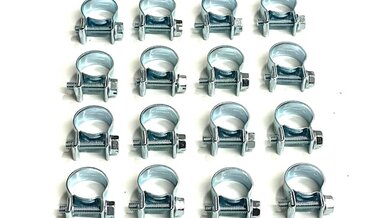
Excellent quality zinc plated hose clamps as shown. These can be tighten with a straight blade screw driver or a 7mm socket or nut driver.
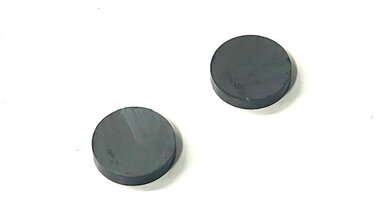
Kent is a firm believer in using these strong magnets inside a transmission pan to help extend its useful life.
They should be placed toward the rear of the pan as shown in the picture below.
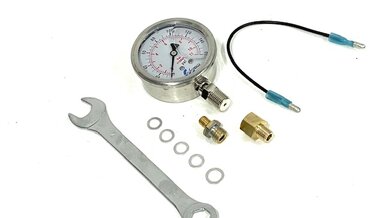
If you own, plan to own, and want to enjoy driving your old CIS fuel-injected Mercedes, Kent highly recommends you learn to do a full fuel system flow and pressure test.
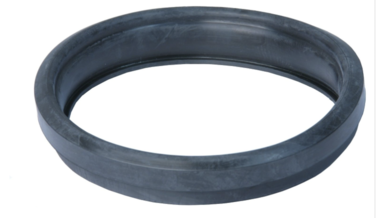
This can replace that old, hardened, and worn-out seal at the bottom of your V8 air filter housing to prevent dirt and dust from entering your. Check yours soon to see how tight it fits on top of the fuel distributor.

This critical coolant hose hardly ever gets changed, and when it ruptures, you could experience a catastrophic engine failure. The chief reason is that it is almost impossible to see and inspect.

Even many old-time Mercedes diesel "experts" are surprised about this part. It is so unknown that it never gets replaced in the oil filter housing, meaning that almost all of them are no longer working today. Watch the video below, and Kent will explain its location and function.
in this detailed 38-minute video Kent will walk you step-by-step through the procedures of removing the old belts, installing the new belts, and tightening them properly. When changing your V-belts there are other things you should consider replacing as well.
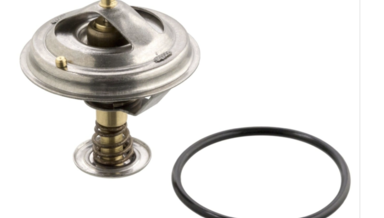
If your engine is taking too long to heat up or is constantly running "hot" it is probably time to replace the thermostat. Kent explains in the video below some other parts you should consider replacing at the same time.
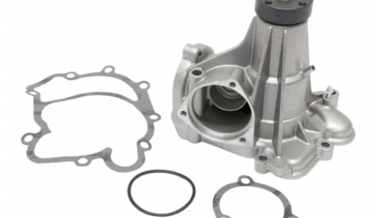
New water pump and gasket as shown. Plan to change the short hose and thermostat at the same time. Inspect v-belts and change if cracked.
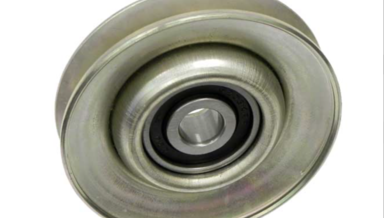
The bearing in this pulley wears out at 80,000 to 120,000 miles and can cause rumbling sounds while the engine is running. A good time to plan to replace or at least inspect this is when you change the V-belts.

If you have one belt that is going bad, replace them all simultaneously. You don't want to have to do this job again in the near future.
In this 17-minute video instruction, Kent walks you through the steps to install his door liner kit using thick, clear, and high-quality plastic sheets on both front and rear doors. A W123 sedan is shown here, but the principles are similar for other chassis.
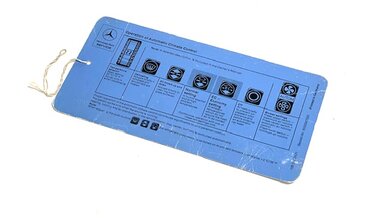
Reads English on one side and German on the other.

These transmission pans get "out of shape" due to over-torquing the bolts. That crushes the stops (see below), and when that happens, it is very hard to get the pan seal not to leak. Your best option if you are doing a transmission service is to replace the pan.

This high pressure hose is a common leak area on the 126 gasoline V8 models. If you see oil drips just aft of your power steering pump it is probably this hose.
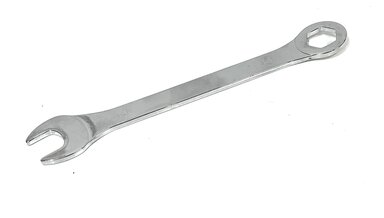
When pressure testing your KE-jetronic fuel injection, you may find you need a really thin wrench to install the small fitting on the right side bottom of the fuel distributor.
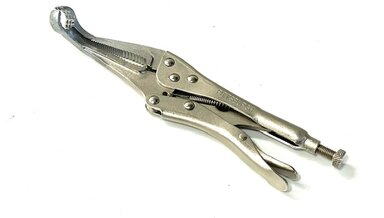
Also works on 380SL and 560SL transmissions. Before you think you can easily remove the Bowden cable from the transmission, watch the video below.
These transmissions are now 40+ years old, and with age comes hardened o-rings and seals, leading to what I call "pesky" leaks. They are not bad enough to flow on the ground, but they do leave wetness around the transmission and drips on the garage floor.
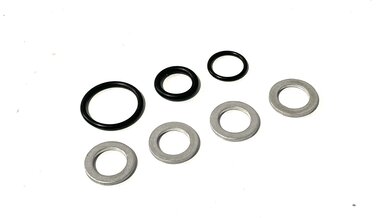
These transmissions are now 40+ years old, and with age comes hardened o-rings and seals, leading to what I call "pesky" leaks.
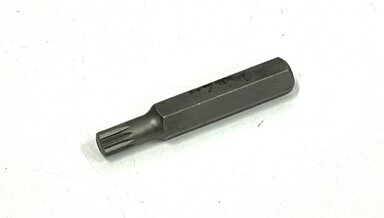
You must drive this star bit into the head of the damaged bolt with a hammer, but it will hold. The bolt will then need to be replaced. Watch the video below as Kent will explain how it works.
For mount kits and hardware, see related products below.
This will replace the plate with cracked or striped out threads on your oil pressure line. Gasket available separately below.
30 light bulbs total in this assortment. PLEASE NOTE: These may not be every bulb you will need for every model, but you will have extras on hand. These cars are OLD, and most of the bulbs need to be replaced. They even start to loose some of their intensity over time.
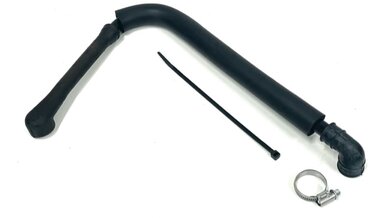
This is a complete kit. Aftermarket new plastic breather tube with rubber attachment elbows, one new clamp, and a zip tie. You can see below how it installs on a turbo 300TD wagon. Watch the video for more specific details.

High quality fast break in pads with special coated anti-squeal pad bonded to the back side of the pad. We include 4 new sensor wires and a small ceramic brake pad grease to lube the pad edges and the pins. ( no need to lube the back side).
This will be instructional information that you can not find anywhere else! The focus of the 25-minute video will be on removing and replacing the oil cooler thermostat once the oil filter housing is removed for a 1977 to 1985 engine ( excluding the 190D).
Want to find out if your oil cooler thermostat is working correctly? In this 22-minute video, Kent will take you through a test sequence that you can perform in your garage. Please note that this video DOES NOT include details of removing or replacing the oil filter housing.

We know it is a surprise to many owners to discover there is a small thermostat inside the oil filter housing. Rather than write about it, watch the video below and Kent will explain the theory of operation and how to get it it.
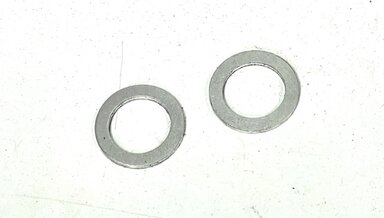
Set of two new aluminum washers as shown.


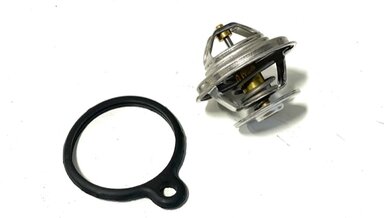
This OEM thermostat from another engine fits perfectly in the OM617 diesel engine. It does require a special rubber seal, which we include here.
Here is an easy DIY tip to repair a broken vacuum hose nipple on your main vacuum line running from the vacuum pump to the brake booster on the older diesel engines. $2TIP
This video applies to both K-jetronic and KE-jetronic fuel injection engines on Mercedes from 1976 to 1993.. Let's say you just acquired an old gas engined Mercedes and you just can not get it to run right and or even get it to start.

Nice to have a few extra 13mm sockets around. This is the first tool that gets lost when working on old Mercedes. The tall shoulder inside helps to hold the nut or bolt in a position to make it easier to start the threads.

ONLY ONE SET AVAILABLE. Three of these wrenches are made by Gearwrench. You get a very long standard combination 13mm wrench, a long 10mm with a racheting box, a very long 17mm with a ratcheting box, and finally, a very long 14mm combination wrench made by Urrea.

This is a short addendum to the full instructions on resealing an SLS hydraulic pump. This will now be included with the reseal kit. Disregard the old method mentioned elsewhere